Accessing Sunfire on Mac OS X
Mac OS X is shipped with a ssh client. Unlike on the Windows OS, you would not need to download a third party application to access the Sunfire server. The following instructions will help you get connected to the Sunfire server using the default ssh client included in Mac OS X.
Although you could install developer tools and run C code on your Mac machine, it is highly recommended that you write and test your C code on the Sunfire server. There might be some differences in the compiler installed on your machine and the one on the Sunfire, and you getting used to the compiler errors and warnings on Sunfire would greatly help you in your practical exams.
Open the terminal application. You can either open Terminal app from the Applications folder, or simply search for Terminal using Spotlight.
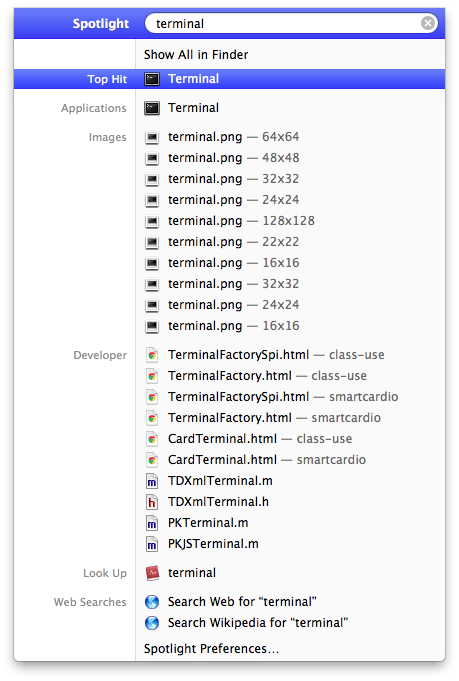
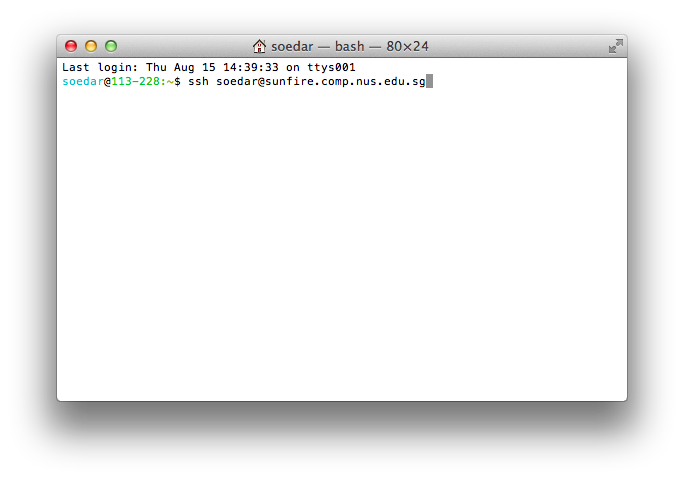
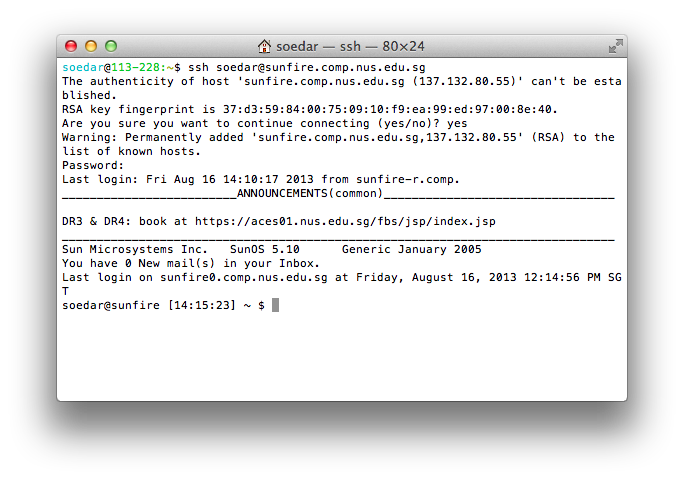
You should notice that the terminal looks and feels a bit like the sunfire system. In fact, OSX and Solaris (the operating system behind Sunfire) are UNIX systems, and they behave somewhat similarly under the hood. To connect to Sunfire, type ssh <SOC Username>@sunfire.comp.nus.edu.sg, replacing <SOC Username> with your SOC Unix Account name. For instance, I would type ssh soedar@sunfire.comp.nus.edu.sg. A way to remember the command is <username> [at] <the server you want to connect to>
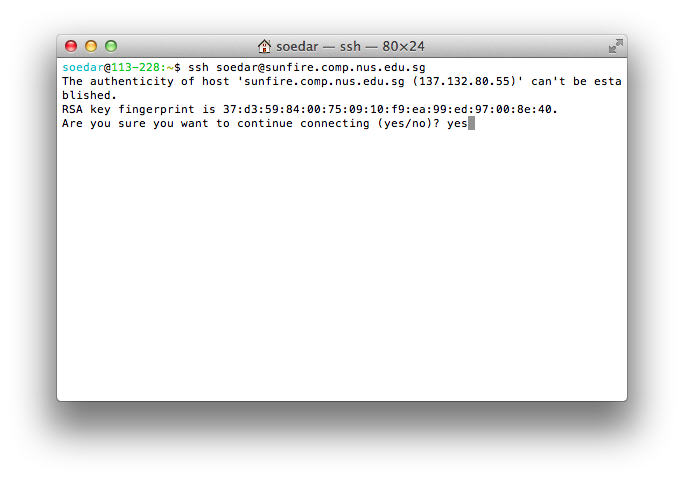
The first time you connect to the sunfire server, you should see a warning about the RSA key fingerprint. Make sure that the key is 37:d3:59:84:00:75:09:10:f9:ea:99:ed:97:00:8e:40, and type yes.
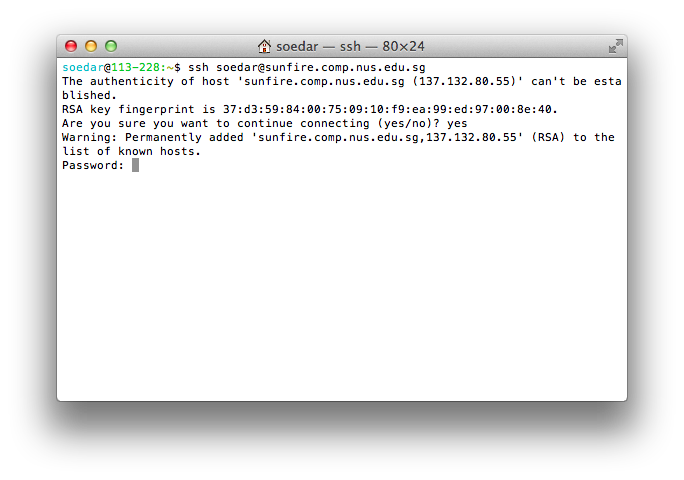
You would then be prompted to enter your password. NOTE: the password field will not update even as you key in your password (i.e. the usual * characters will not appear as you type in your password). Enter your password and hit the enter key.
You should be able to see the Sunfire shell. Your files and settings on Sunfire should now be available, and any command typed in the terminal would now be executed on Sunfire.
Transfer files between Sunfire and OS X
GUI Method
Download CyberDuck from http://cyberduck.ch/
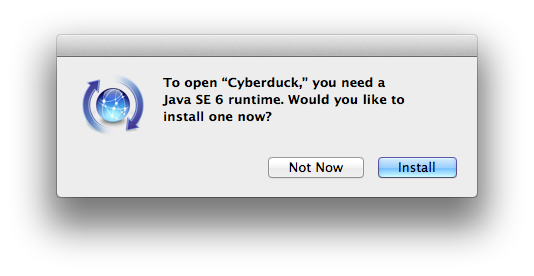
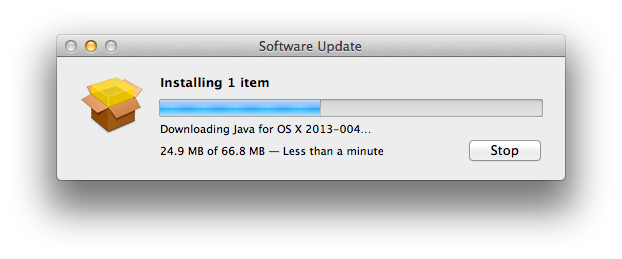
If your machine is missing the Java runtime, you would be prompted to download the Java runtime. Install the Java runtime.
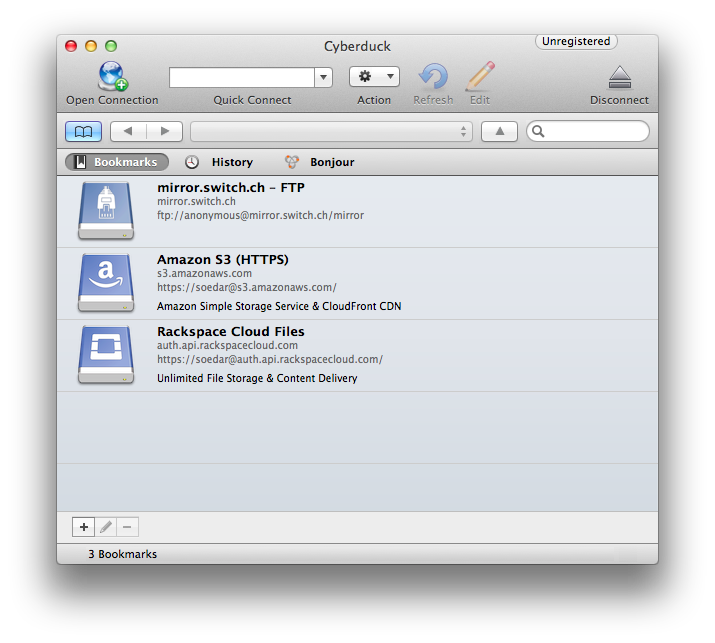
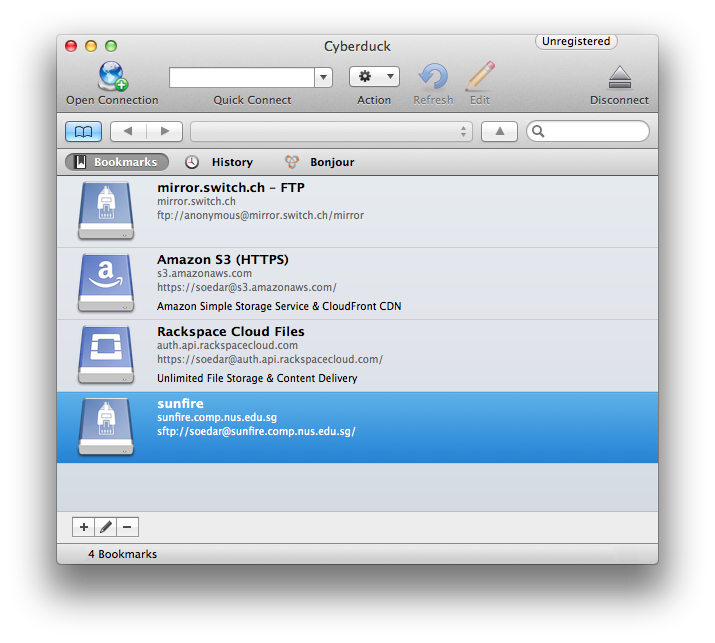
When you open CyberDuck, you should see the following interface. Tap on the + button at the bottom left.
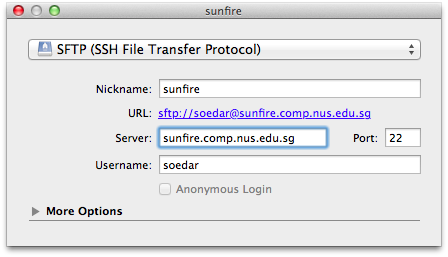
The add new connection popup should appear. Fill in the fields as follows:
- Type:
SFTP (SSH File Transfer Protocol)
- Nickname:
<Anything you want. But preferably something like sunfire>
- Server:
sunfire.comp.nus.edu.sg
- Port:
22
- Username:
<Your SOC UNIX Account Name>
The newly created connection should appear in the bookmark window. Double click on the one that you just created.
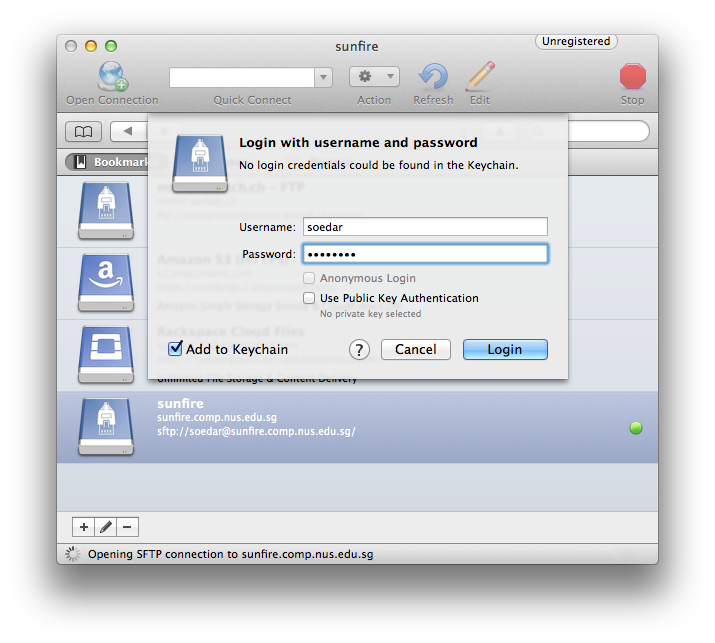
A login window should appear. Enter your password. Checking the "Add to Keychain" box would save your password on your device, and you would not need to enter your password again.
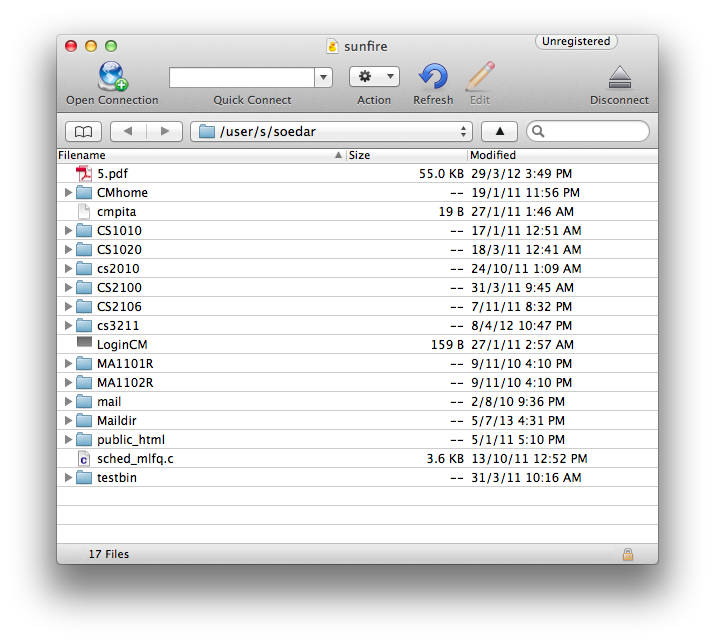
The directory listing of the remote folder should appear. You can drag the files from the remote server to your local machine to download the file, or drag the files from your machine to the Cyberduck window to upload the files to the remote server.
The Geeky Method (Using the command line)
Alternatively, you can use the command line tool called sftp to transfer file from your local file system and the remote server. To connect to the server, type sftp <soc username>@sunfire.comp.nus.edu.sg, and enter your password when the Password prompt appears.
Once connected, the following commands are available:
- cd: change directory on the remote server
- pwd: show the present working directory on the remote server
- ls: list all the files in the present working directory on the remote server
- lcd: change directory on the local machine
- lpwd: show the present working directory on the local machine
- lls: list all the files in the present working directory on the local machine
- get
<filename>: download <filename> from the remote server working directory to the local working directory
- put
<filename>: upload <filename> from the local working directory to the remote server working directory
Soedarsono - 16th August, 2013


